Android TV Box setup for IPTV beginners: complete first-time configuration guide

RonaldFix

New member
Just received my first Android TV box. It came with Android TV pre-installed. I want to use it for IPTV with TiviMate. What are the steps from unboxing to watching? Particularly interested in any settings I should change before I install TiviMate.
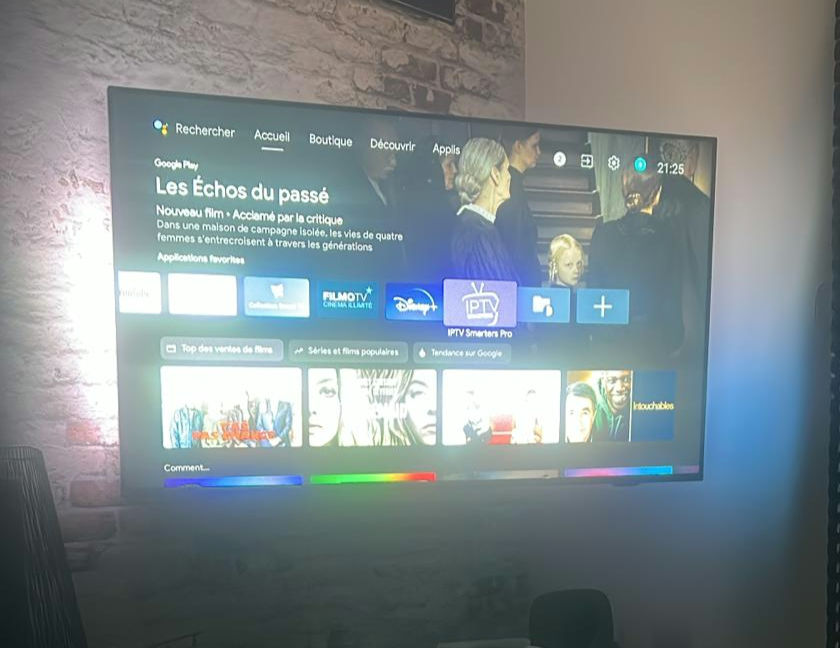
 
Welcome to Android TV box IPTV. Here is the complete setup sequence for a first-time user:\n\n**Initial box setup:**\n1. Connect the box to your TV via HDMI\n2. Connect to your network — ideally via Ethernet cable to the router\n3. Complete the Android TV setup wizard (create or sign in to a Google account)\n4. Go to Settings → Device Preferences → Date and Time — set the correct time zone\n5. Go to Settings → Device Preferences → Storage — note how much storage is available
 
**Before installing TiviMate:**\n\n6. Go to Settings → Device Preferences → Security → Unknown Sources — enable this (required for sideloading apps not on the Google Play Store)\n7. Install "Downloader" from the Google Play Store — this is the easiest way to install APK files via URL\n8. In Device Preferences, enable "Developer Options" if visible — allows ADB connection for advanced troubleshooting later
 
**Installing TiviMate:**\n\n9. Open Downloader and enter the TiviMate APK download URL (get this from the TiviMate official website)\n10. Download and install — allow installation from Downloader when prompted\n11. Find TiviMate in your app drawer and open it
 
UK user — two settings to change in TiviMate immediately after first launch:\n\n• Settings → Player → Hardware Decode → Enable (not Auto)\n• Settings → General → Hardware Accelerated Rendering → Enable\n\nBoth significantly improve stream performance and stability.
 
Ireland — also set these:\n\n• In Android TV Settings → Display → Resolution → set to 4K if you have a 4K TV (some boxes default to 1080p even when 4K is available)\n• Screen refresh rate to match your TV's preferred rate (usually 60Hz for most content, 50Hz for UK/European channels)
 
Canada — regarding network: even if you plan to use Wi-Fi, connect via Ethernet for the initial setup and first test. This eliminates Wi-Fi as a variable. Once you confirm everything works on Ethernet, you can test Wi-Fi performance separately.
 
After TiviMate is set up with your credentials:\n\n• Allow the EPG to fully load before testing channels (can take 5–15 minutes on first load)\n• Test a few channels at different quality levels (SD, HD, 4K if available)\n• If channels play but EPG is empty, contact your provider for the correct EPG URL
 
Australia — tip for the TiviMate EPG: go to Settings → Playlists → your playlist → EPG Timeshift and set it to your time zone offset if the EPG times appear wrong. UK/Ireland users: set to 0 or +1 depending on BST/GMT season.
 
New Zealand — if you install multiple apps (TiviMate, XCIPTV, etc.) on the box, organise them in the Android TV launcher. Long press on an app icon to move it to the top row for quick access. A clean launcher home screen makes switching between apps much easier.
 
Back
Top